

Import Tests From Source Code
Import end-to-end, API, or unit tests into Testomat.io. Import keeps a large test base manageable. Once imported, you can search across every test, map tests to specifications or Jira tickets, plan new test cases, and get reports.
Importing automated tests into Testomat.io makes your work visible to the whole team. It also keeps a large test base manageable. Once imported, you can search across every test, map tests to specifications or Jira tickets, plan new test cases, and get reports.
Before import
Section titled “Before import”First, you need to have a project. Follow Start With Testomat.io to create it. Choose the project type - see Classical vs BDD.
This guide covers Classical projects. To import a BDD project, see Import Tests From Cucumber.
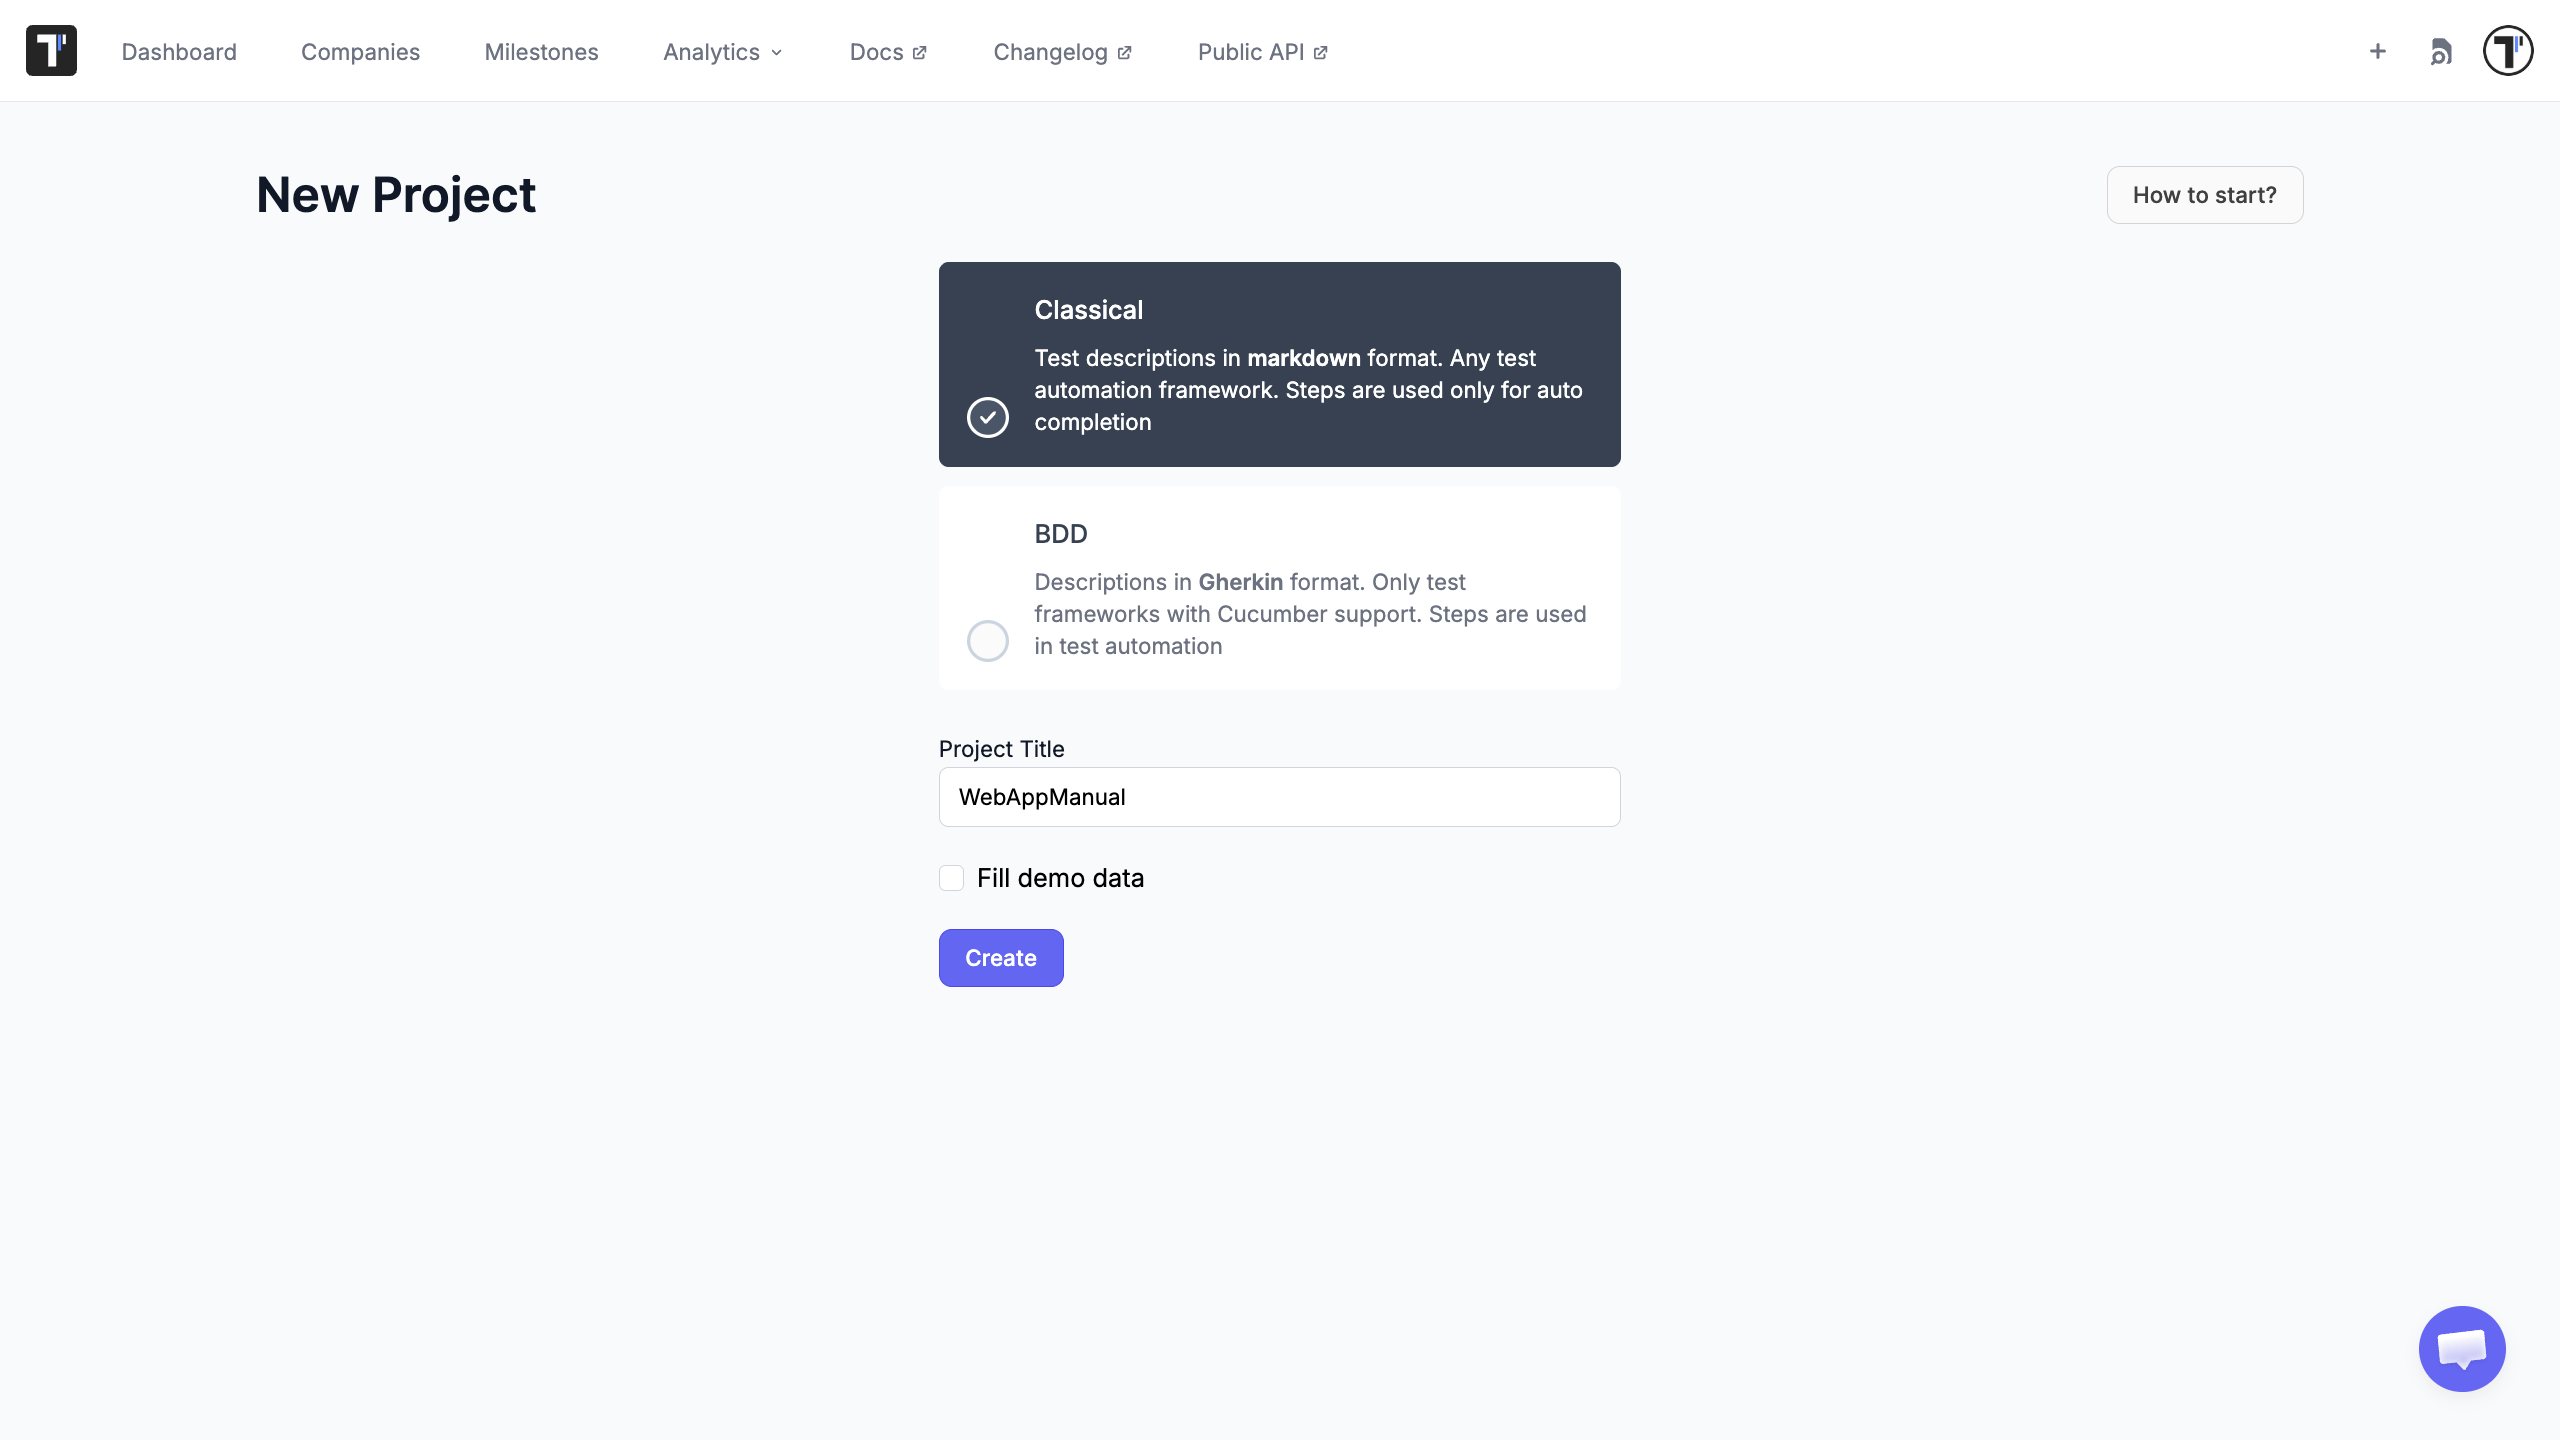
When you create the project, add your repository URL (GitHub, GitLab, BitBucket, or self-hosted) and point it at the directory where your tests live. Testomat.io links each test case to its source.
Import tests
Section titled “Import tests”Now import the source code into your project.
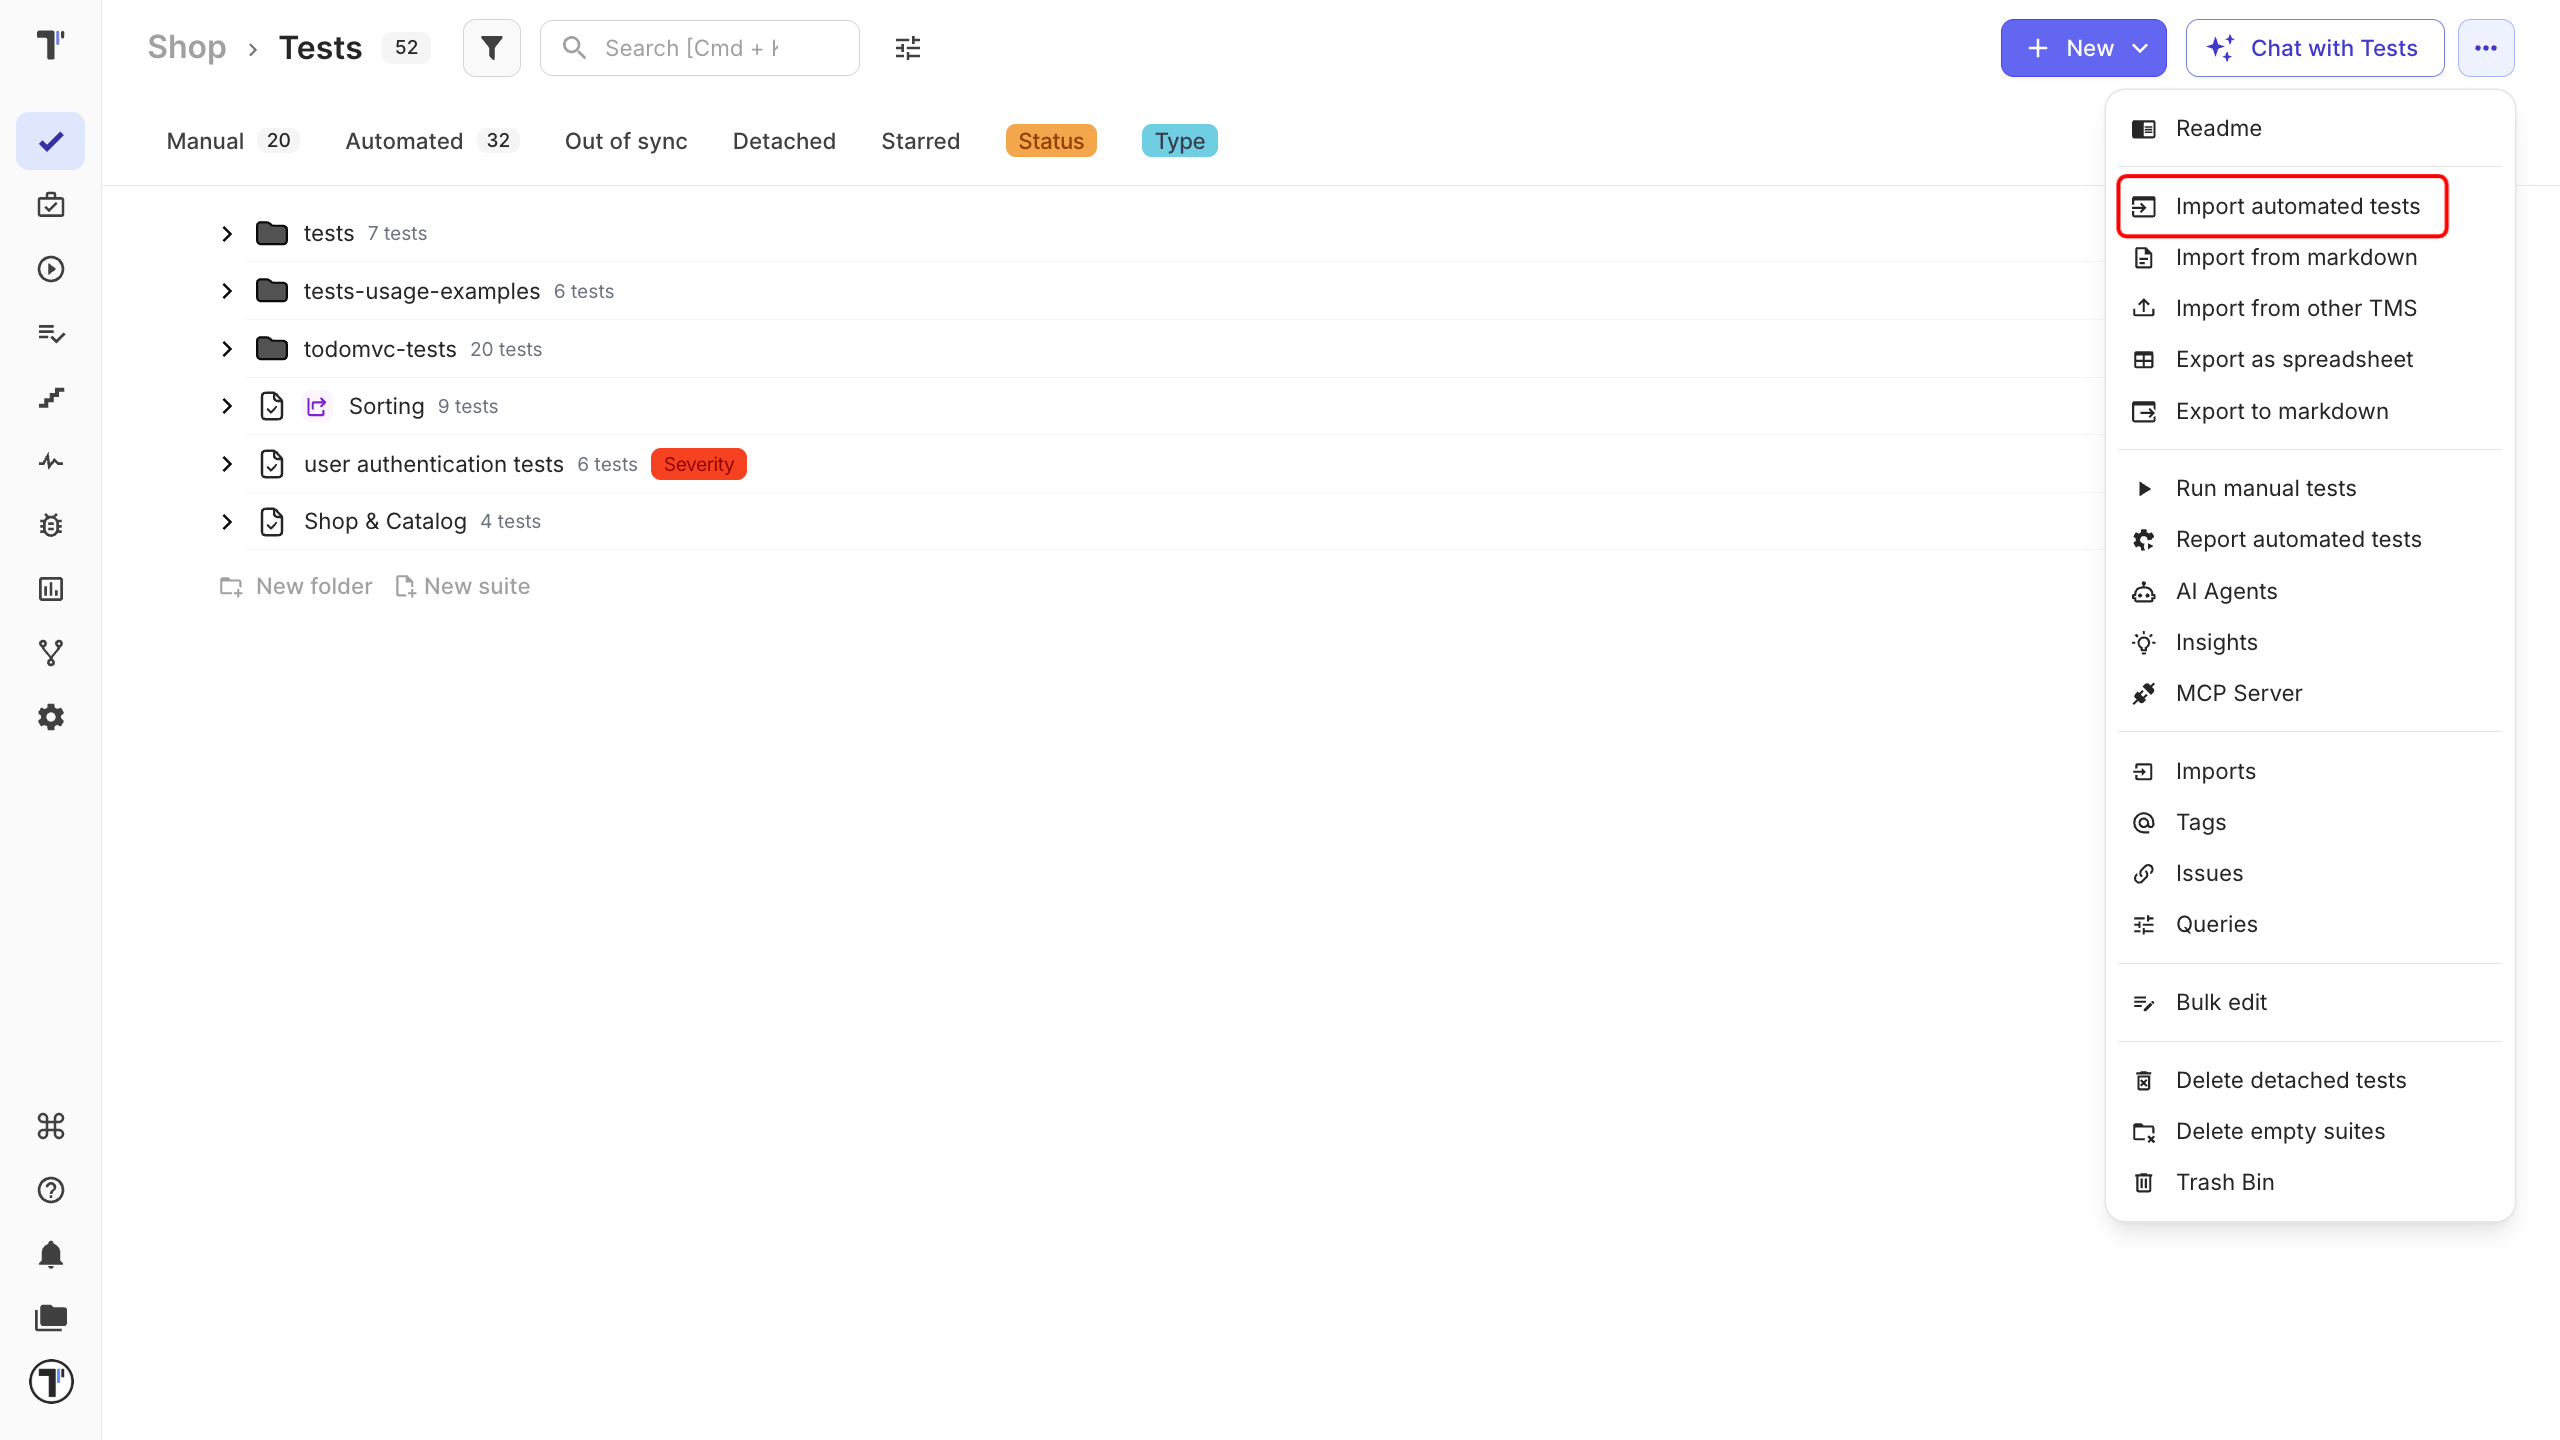
- Go to the Tests tab.
- In the (
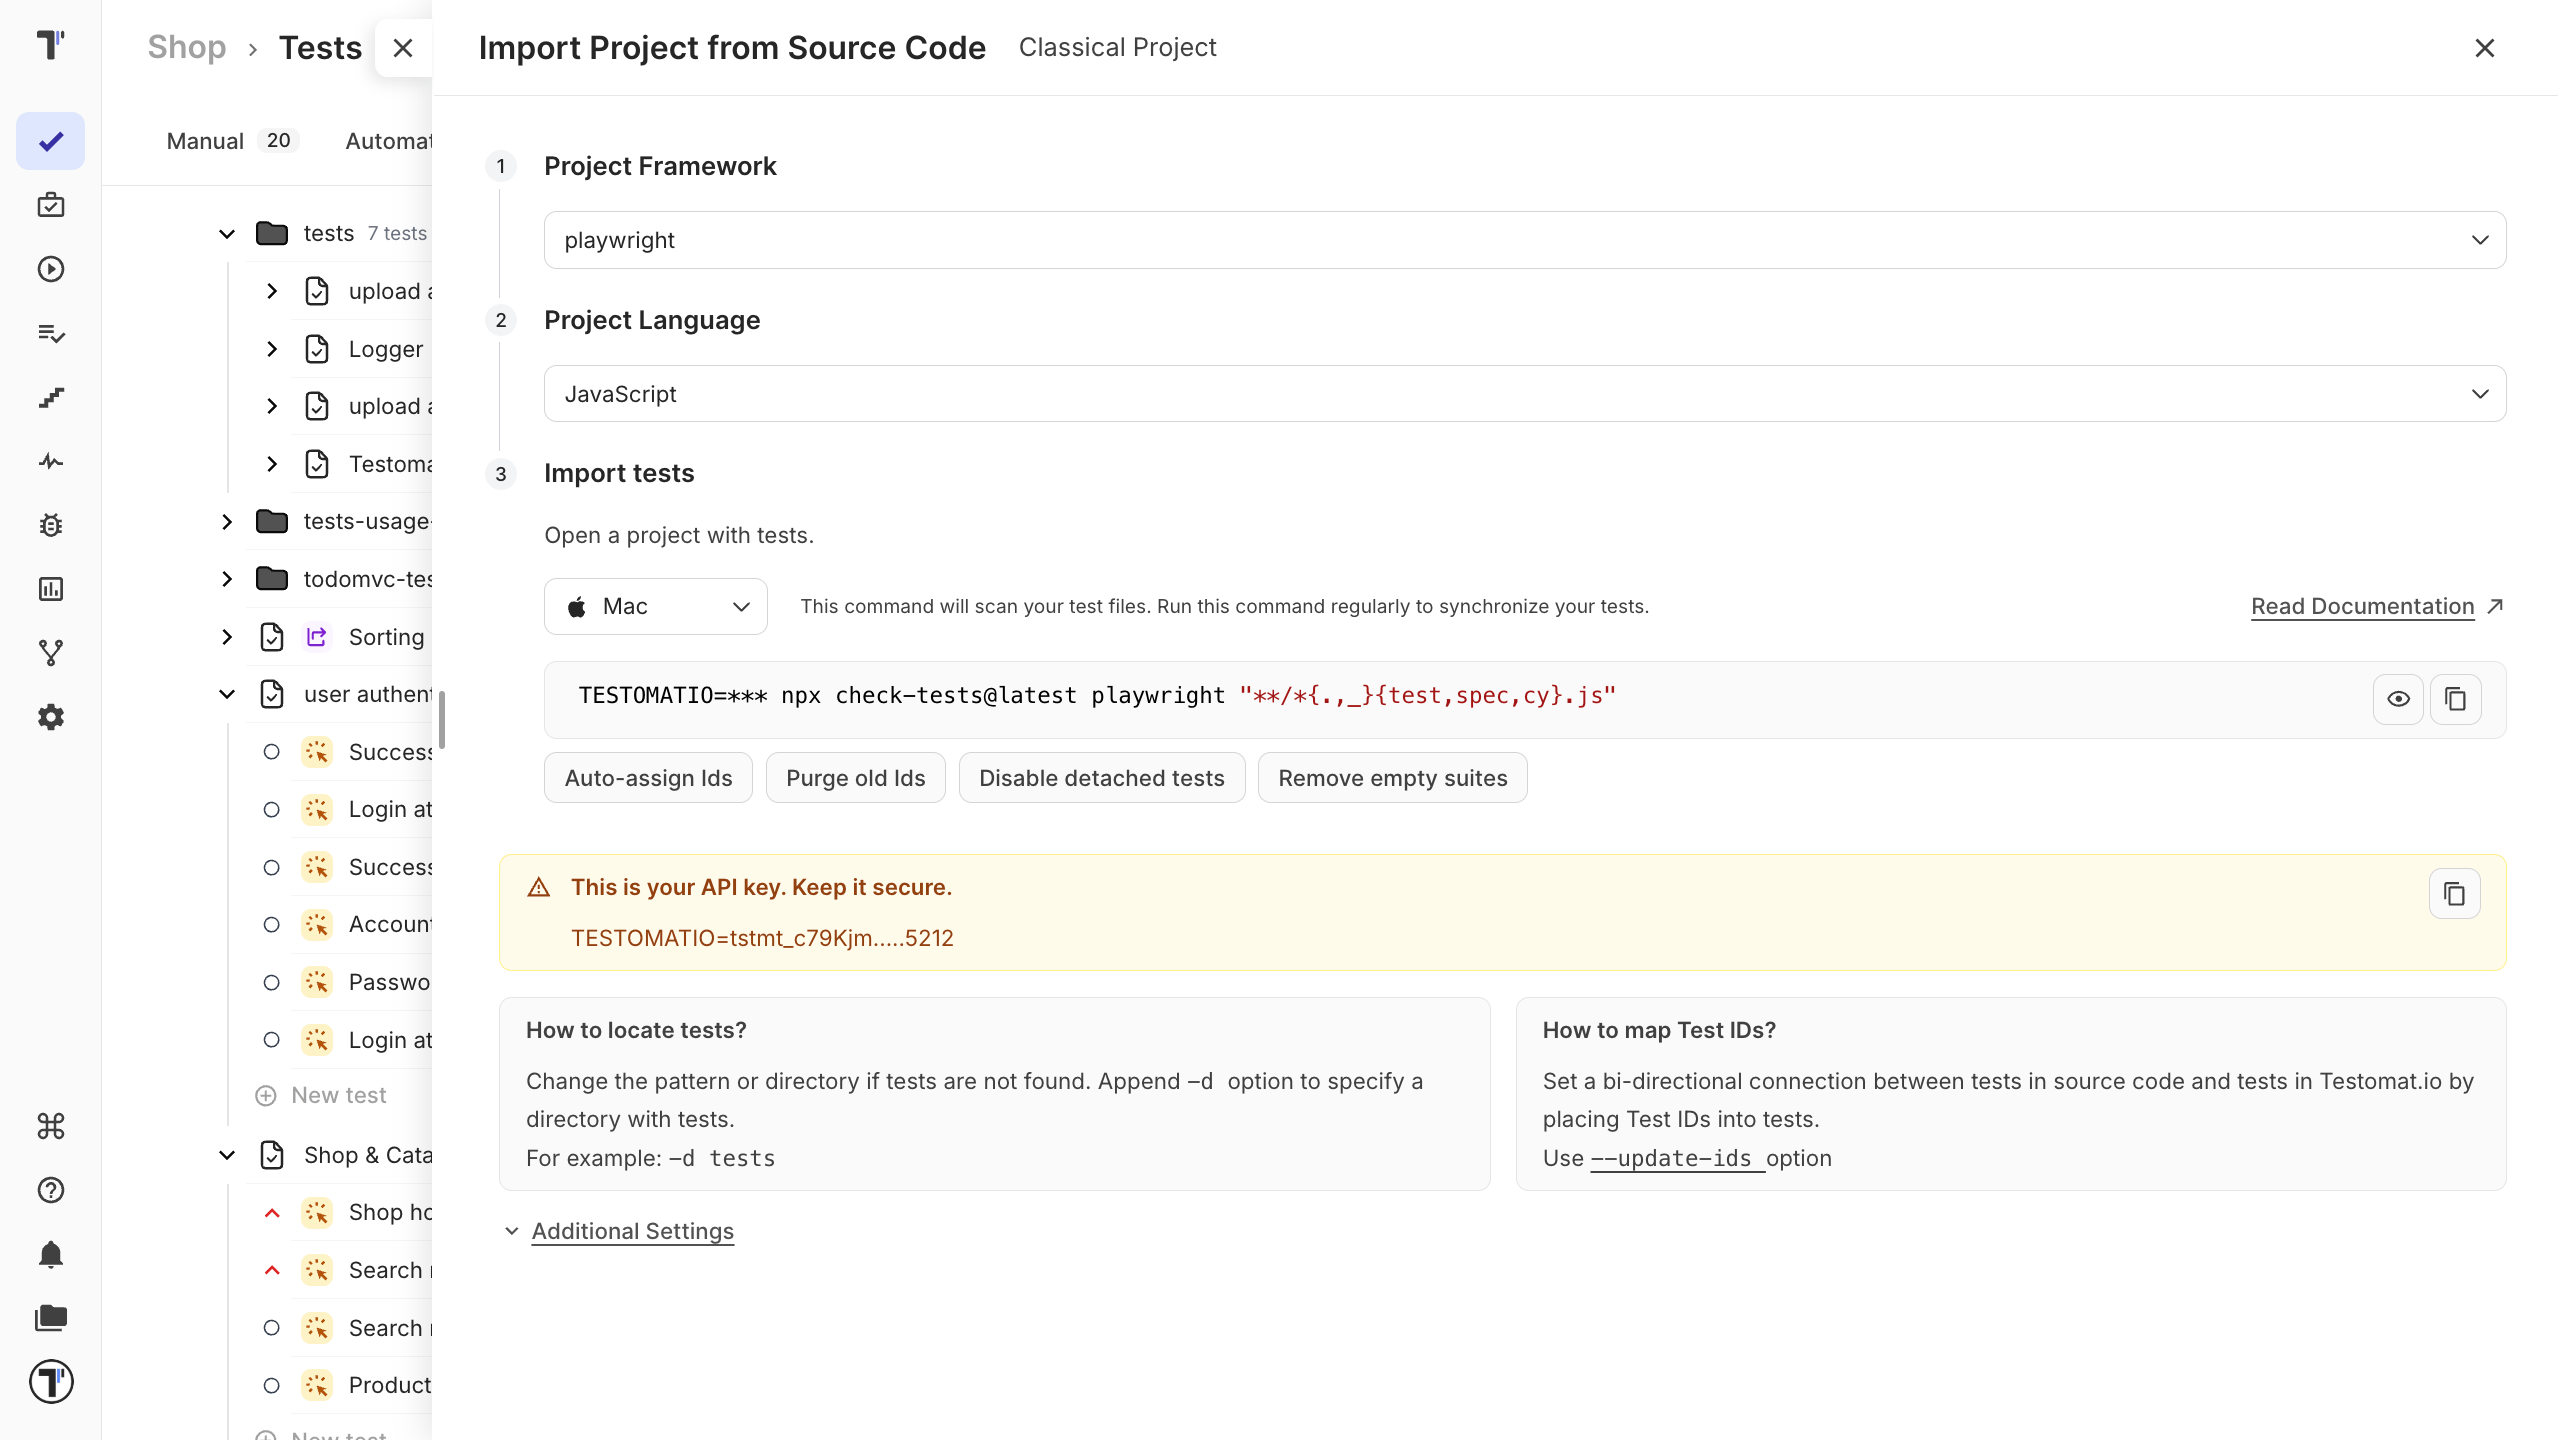
...) menu, click Import automated tests. - In the Import Project from Source Code menu, select:
- your framework.
- your language.
- your operating system.
- Copy the command provided.
Finally, run the command you copied:
- Open a terminal.
- Go to your tests folder.
- Run a command.
- Reopen the project, your tests appear with their folders and files.
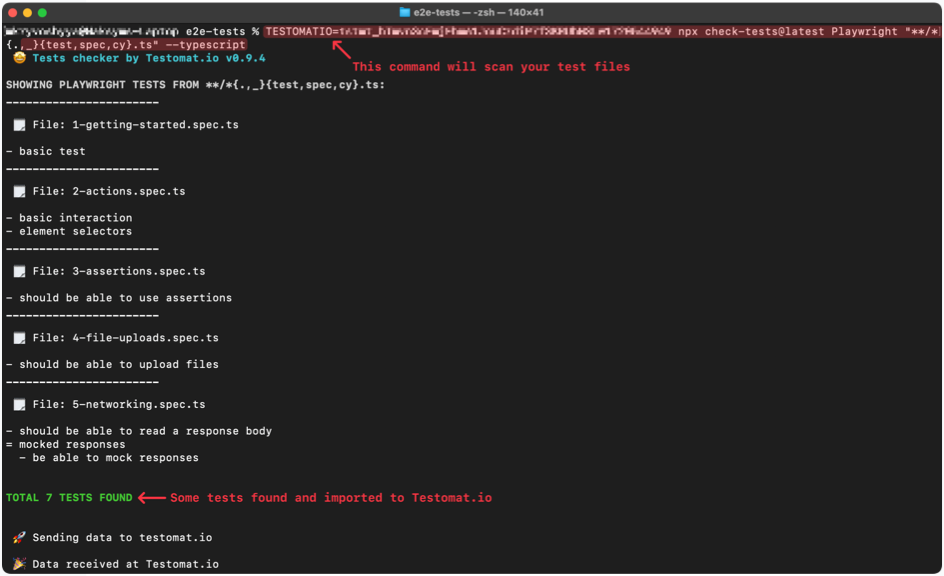
A report of how many tests were found means the import worked. If you do not see that message, the default settings may not match your setup. The usual causes are a different file-naming format or the wrong import directory.
Every imported test is marked Automated. Open a test to see its code and a link to its repository. If the link is wrong, update the repository URL in project settings.
Nested describe blocks
Section titled “Nested describe blocks”Testomat.io keeps one file as one suite. When a file has nested describe blocks, they are flattened on import. Each nested block becomes its own suite at the same level, named after its parent.
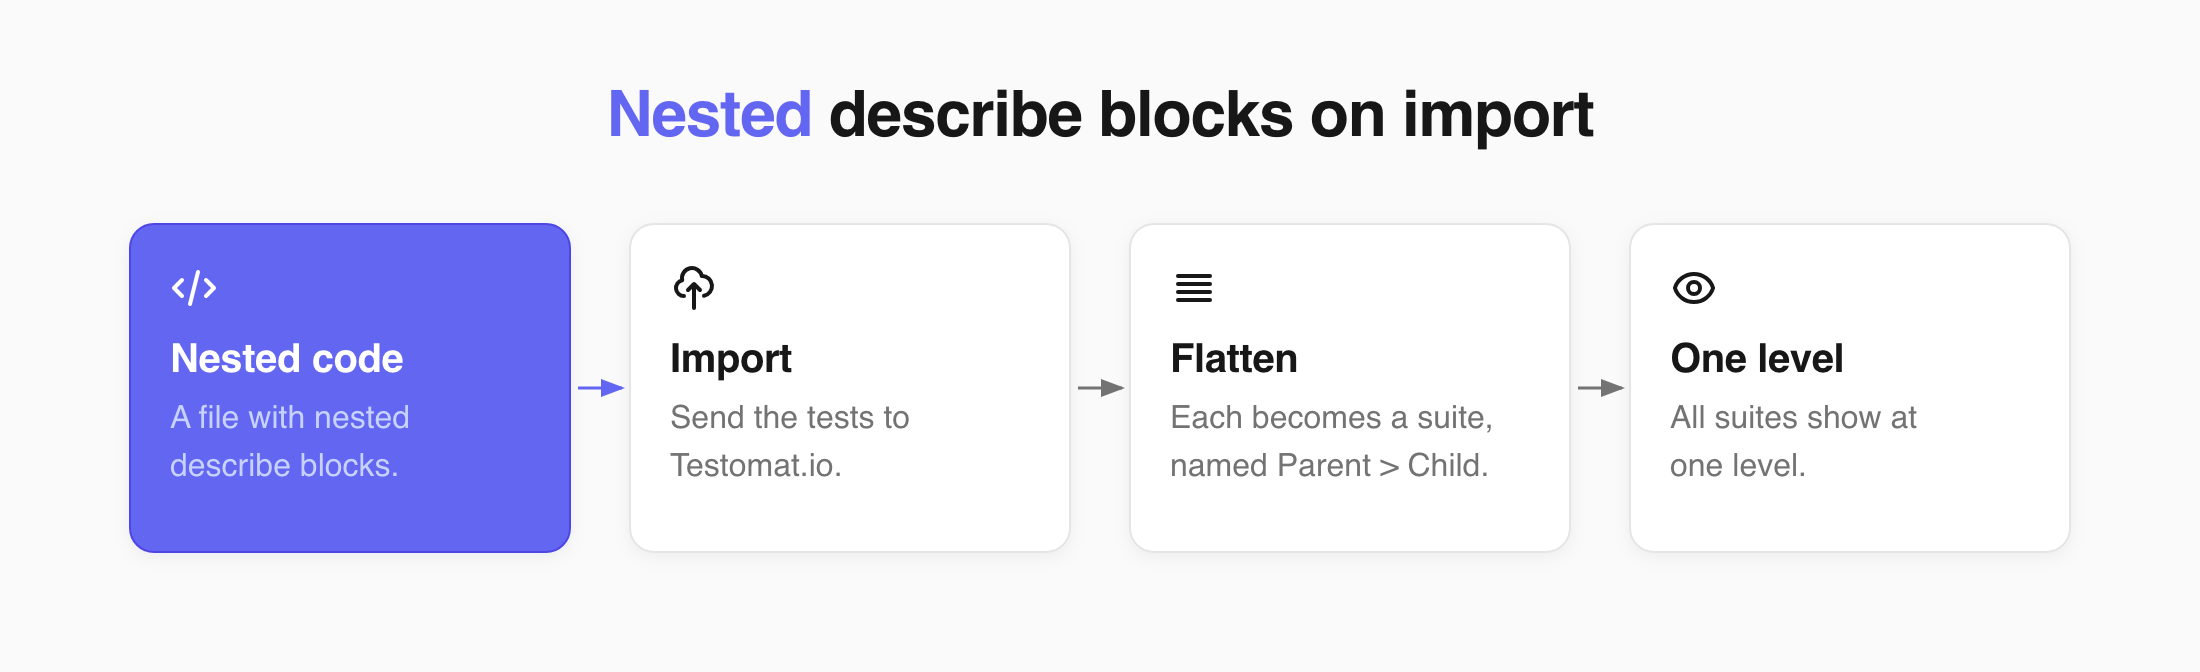
This is expected behavior: it shows every test at once, so you do not expand block after block, and it fits the way most projects are organized - one file, one suite.
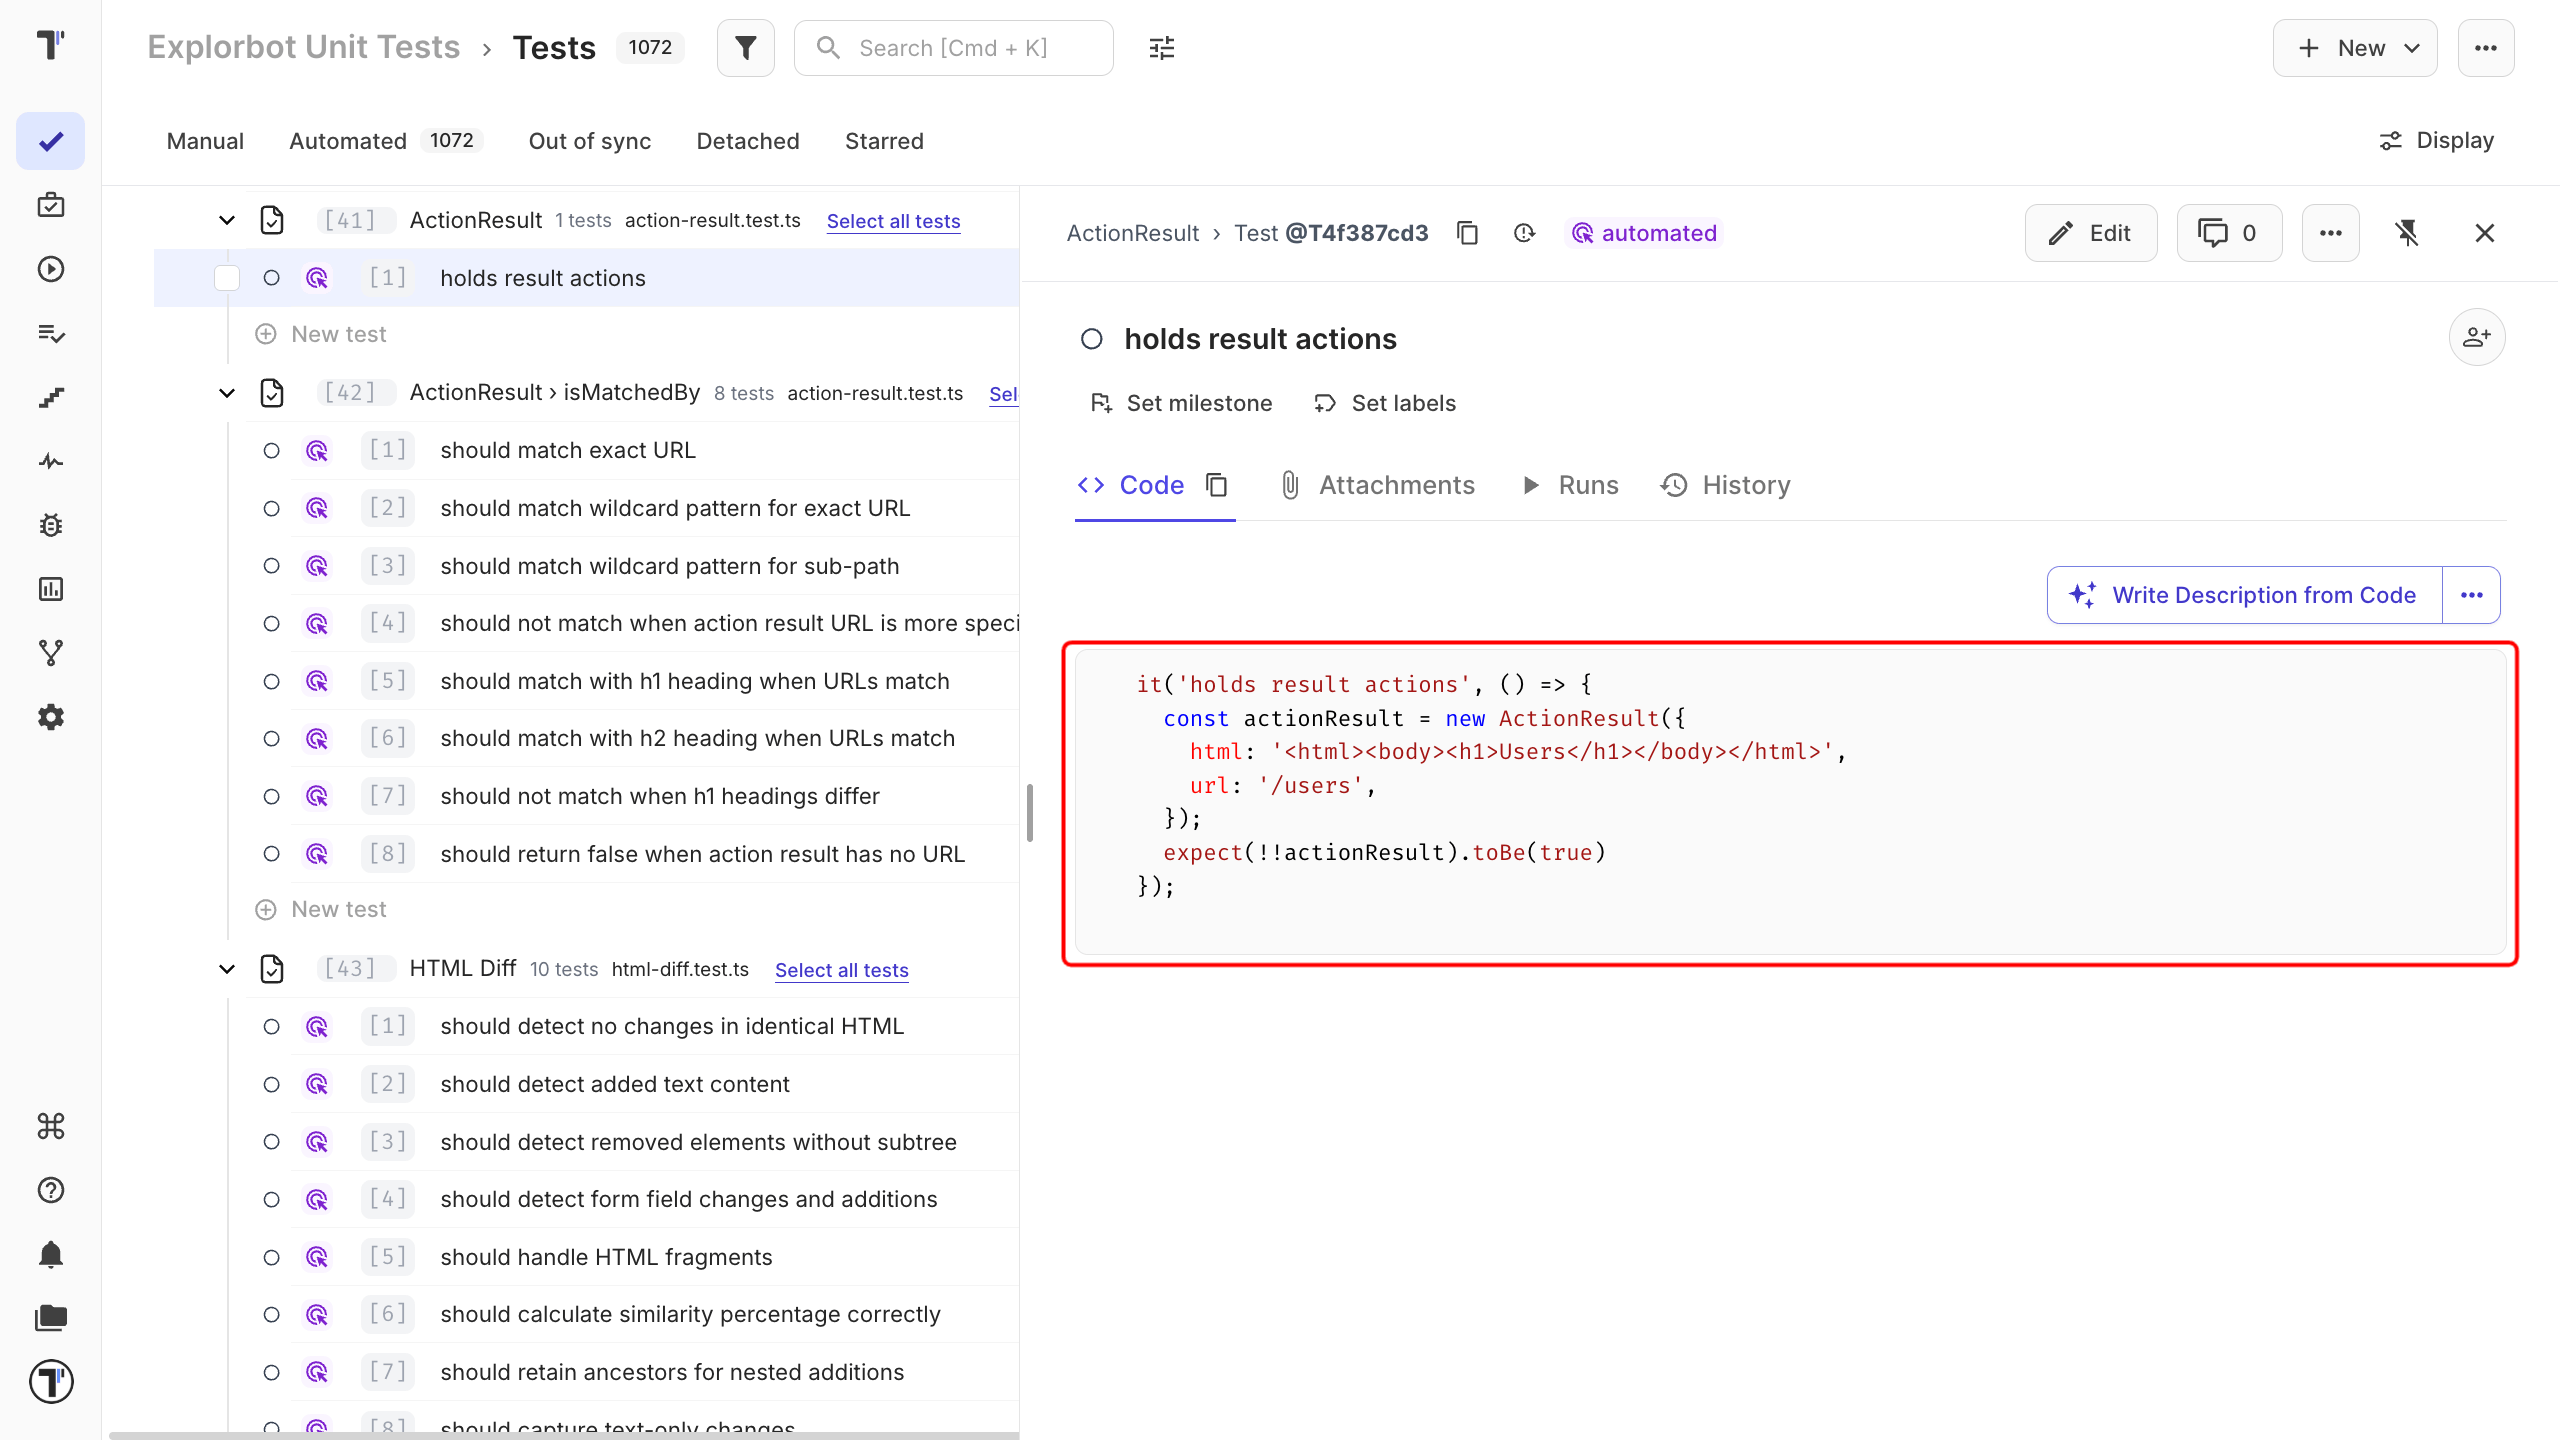
For example, this test file:
describe('ActionResult', () => {  it('holds result actions', () => {    // ...  });
  describe('isMatchedBy', () => {    it('should match exact URL', () => {      // ...    });  });});
Imported in Testomat.io like this:
ActionResult (action-result.test.ts) - holds result actionsActionResult > isMatchedBy (action-result.test.ts) - should match exact URLThe inner isMatchedBy block is not nested under ActionResult - it becomes a separate suite named ActionResult > isMatchedBy. This format stays the same by design, so there is nothing to fix if you see it.
Import automated tests as manual
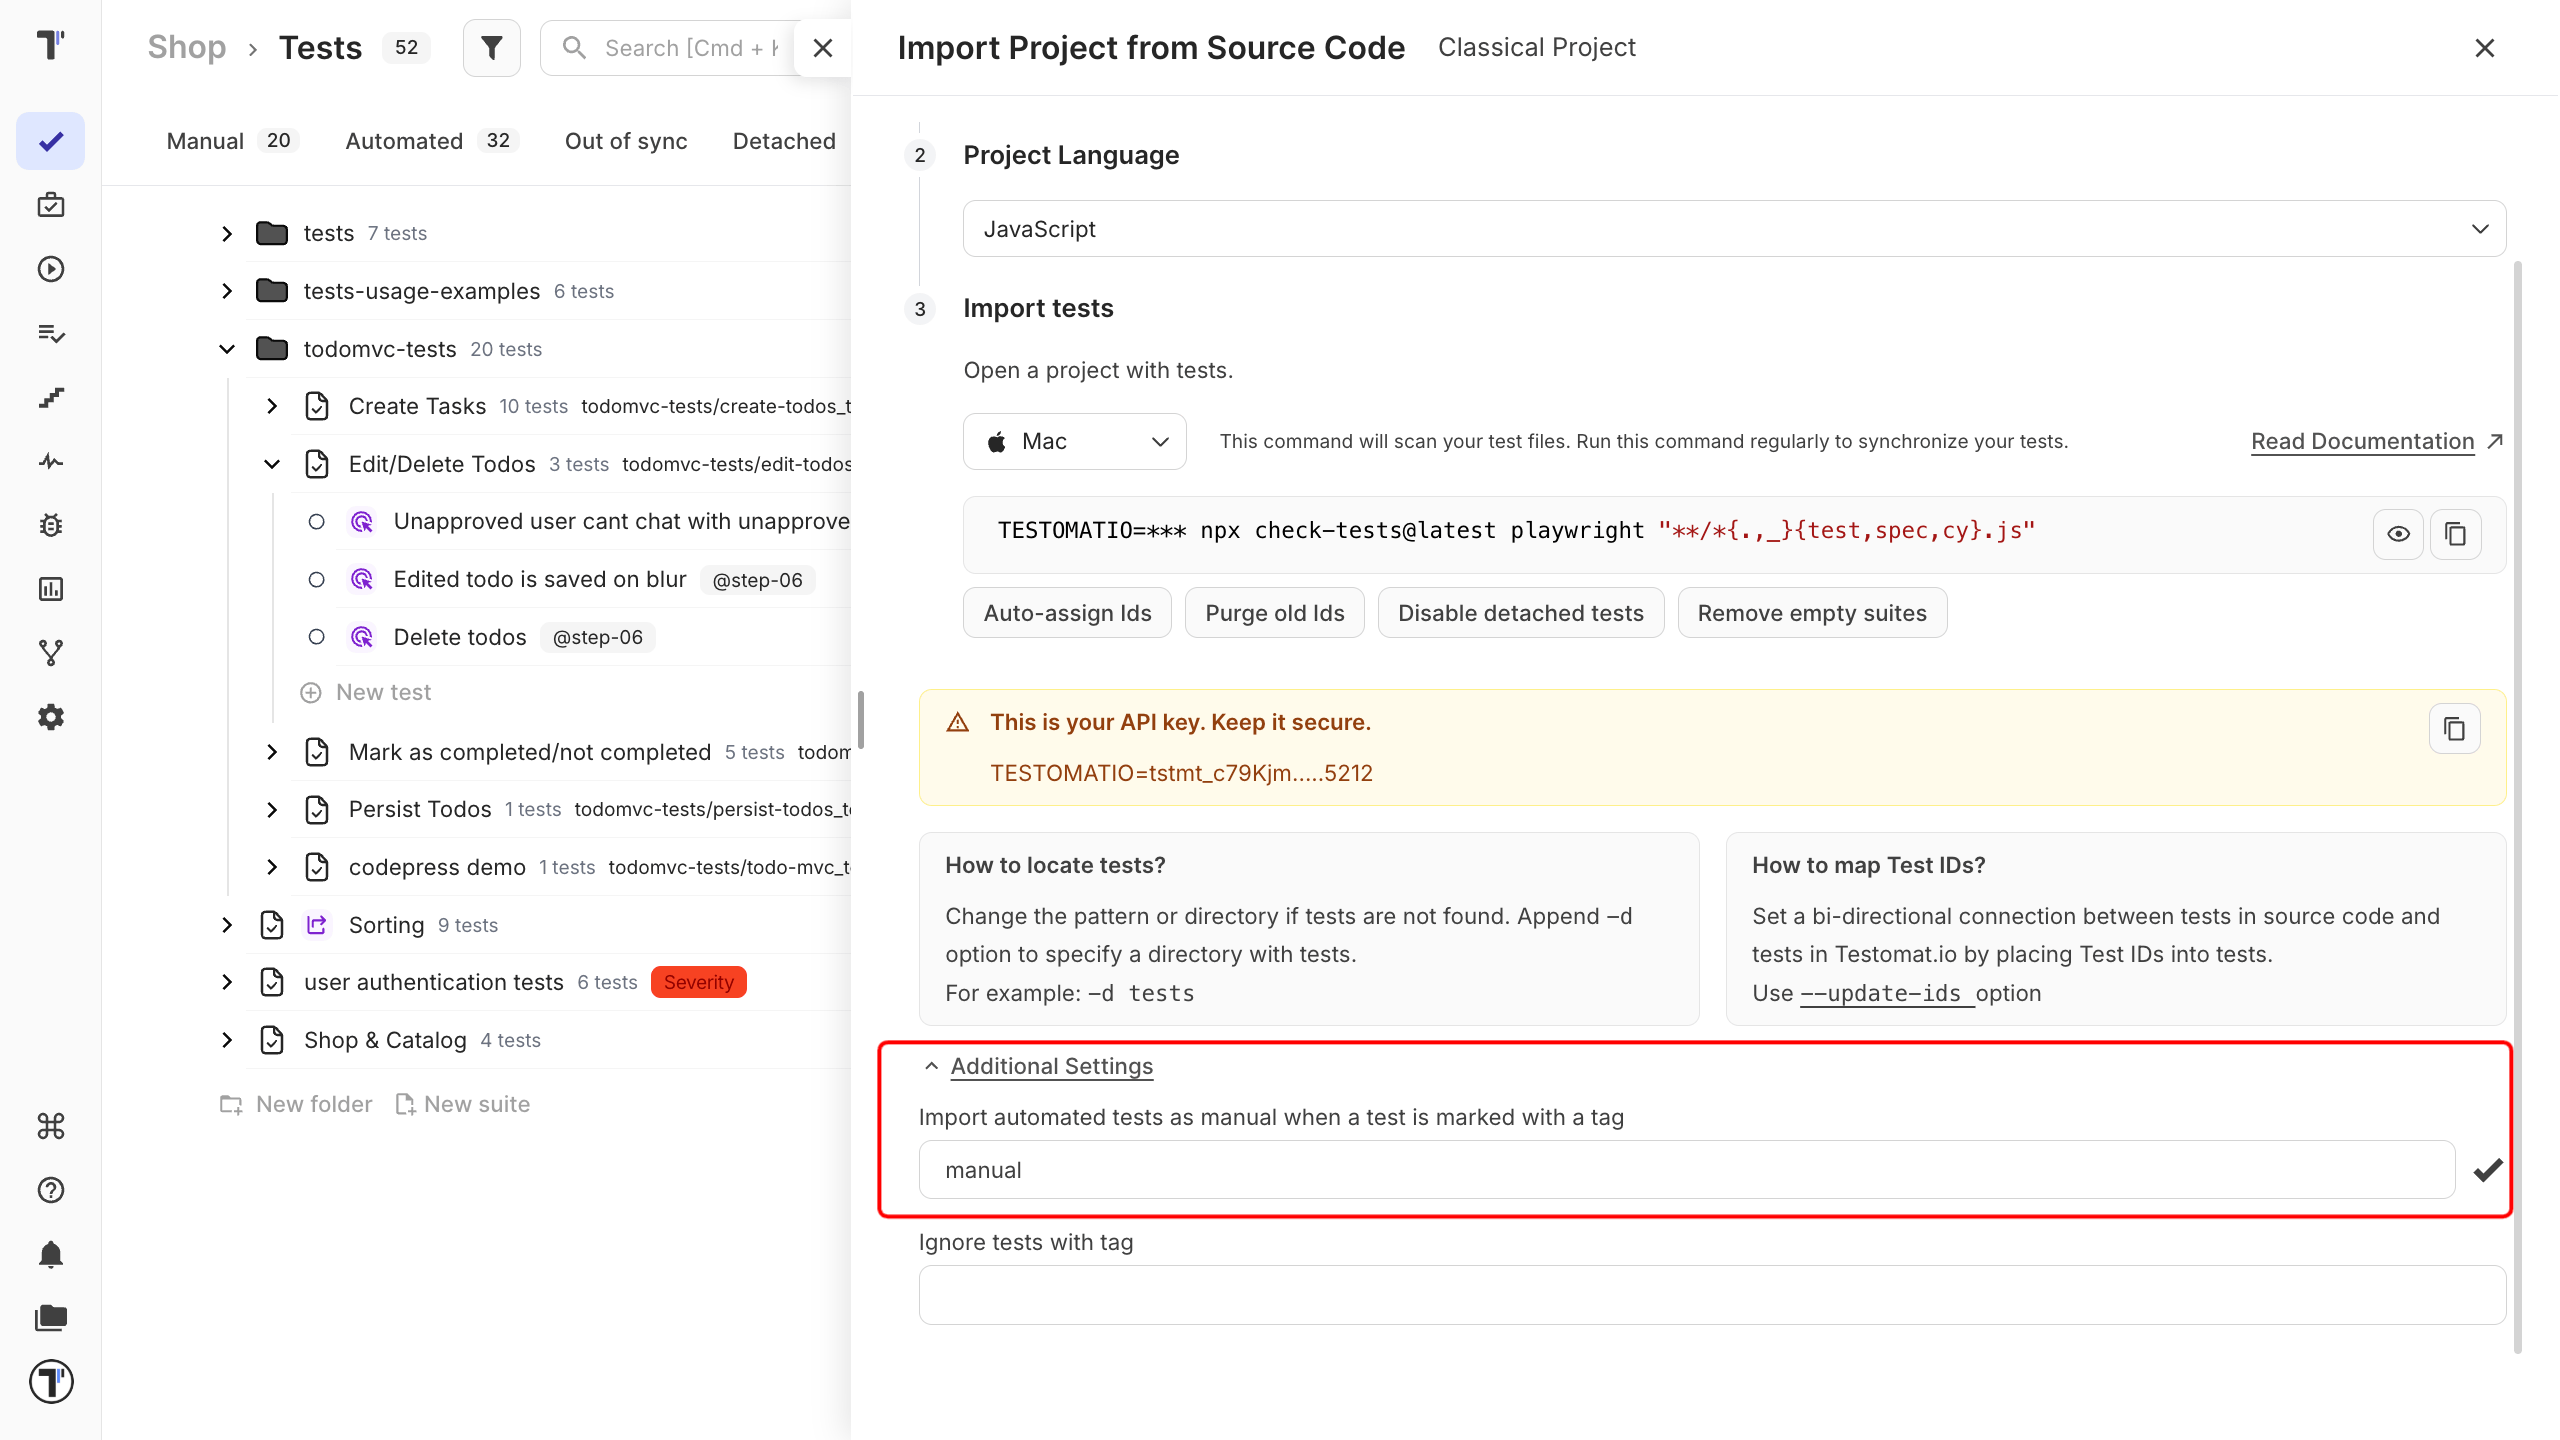
Section titled “Import automated tests as manual”You need to add the tag to the tests in your own code to import them. In code, the tag starts with @, for example @manual.
Then you can use the same tag in the import settings. To import an automated test as manual:
- Open Import Project from Source Code.
- Set your project parameters.
- Click Additional Settings.
- Enter the tag name (without the @).
- Run the command in your project.
- Click Finish.
On the Tests page, the tagged tests are listed as manual.
Next steps
Section titled “Next steps”- Auto-Import - re-import on each commit to keep the project in sync with your code.
- Run Reports - get detailed reports on each test execution.
- Test Plans Overview - plan new tests, then automate from there.